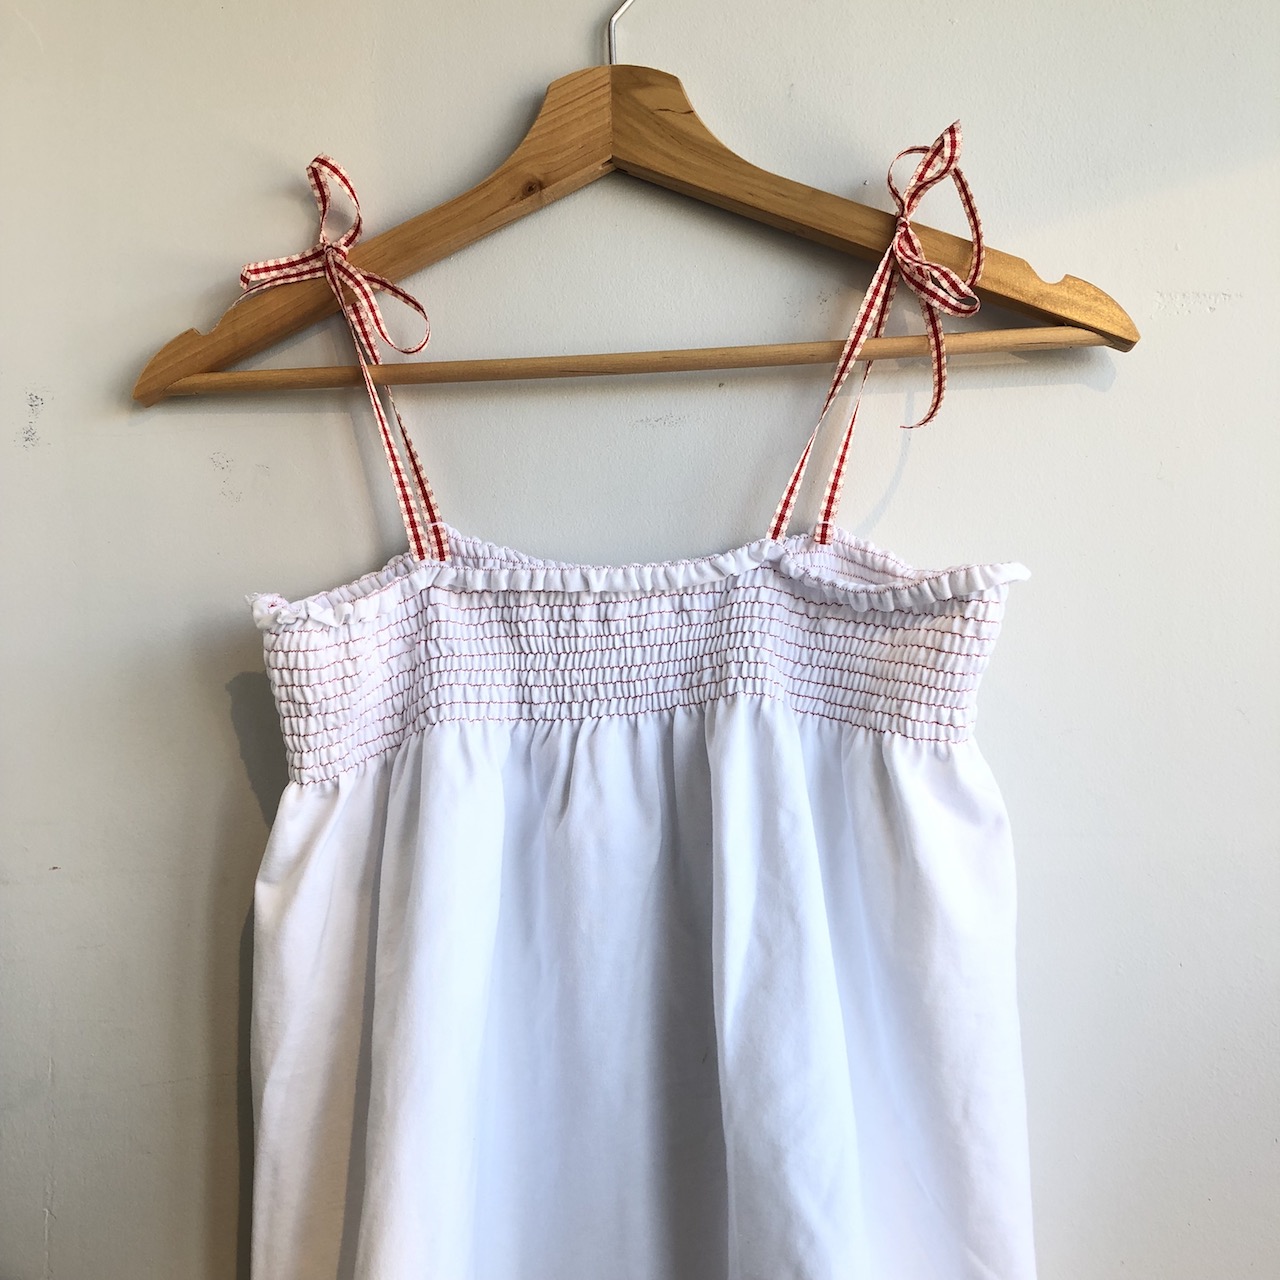
Quick Summer Top!
Posted by Claire on 5th Jul 2019
So Summer seems to have arrived in the UK!!
Time to whip up some quick summer tops & this is where shirring comes into it's own!
All you need is a reel of elastic thread (shirring elastic), a straight stitch sewing machine & fabric (knit or woven)

We've just used our white cotton stretch jersey (SHOP Jersey), red thread & elastic thread (SHOP Elastic Thread) & narrow ribbon for the straps.
The jersey is 155 cm wide, so we just needed the top length + a bit, as the shirring does shorten the fabric a little. For speed, we've left the hems raw, as jersey naturally rolls & doesn't fray!
Wind the elastic thread on to the bobbin by hand, being careful not to stretch the elastic. It takes a while to get a rhythm going, without dropping it! Choose a matching or contrasting thread for the right side of the fabric & thread your machine as normal. There's no need to fiddle with the tension, maybe just increase the stitch length to 3-4.
Time to do some sample sewing!
As with any new fabric or technique, it's worth taking time to do a few samples, before you start on the real thing. It's also worth measuring your sample fabric first, that way you can see how much it gathers during shirring. This can vary depending on the fabric/machine/thread, so it's worth having a quick measure before & after! You can then calculate how wide the piece of fabric, you need to go round you, once shirred - bearing in mind it stretches to fit!
Then with right side of fabric facing up, sew a line holding the fabric flat before it goes under the presser foot. If you're using jersey, be careful not to stretch the fabric. This becomes essential, with each parallel line of stitching! I tend to use the edge of my presser foot, as guide to each line of stitching. After sewing a line, pull the sewing thread (start & finish) though to the wrong side of the fabric and tie to the elastic, with a couple of knots. Then start again, with the next line of stitching and continuing until you have the depth of shirring you require.
Your shirred fabric, then just needs sewing up the side to create a tube. Next, try it on, to work out where to position the ribbon straps & cut 4 pieces of ribbon, allowing enough for tying a bow. Machine or hand stitch these on, between the rows of shirring.
Ta Da - you've a new summer top!!!
Happy Shirring
